Photography
Camping provides a prime opportunity to take photos. You are already in the right place at the right time. That is you can stay out late and get up early without any drive time. The rising sun lights up the world and brings out the delicate pink, gold, or, and red colors. The evening puts the sun setting in the western sky. As it goes down the sky can be lit with orange and red. Its reflection off of a lake or ocean can be spectacular.
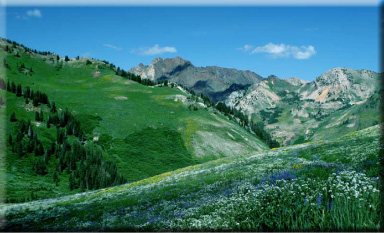
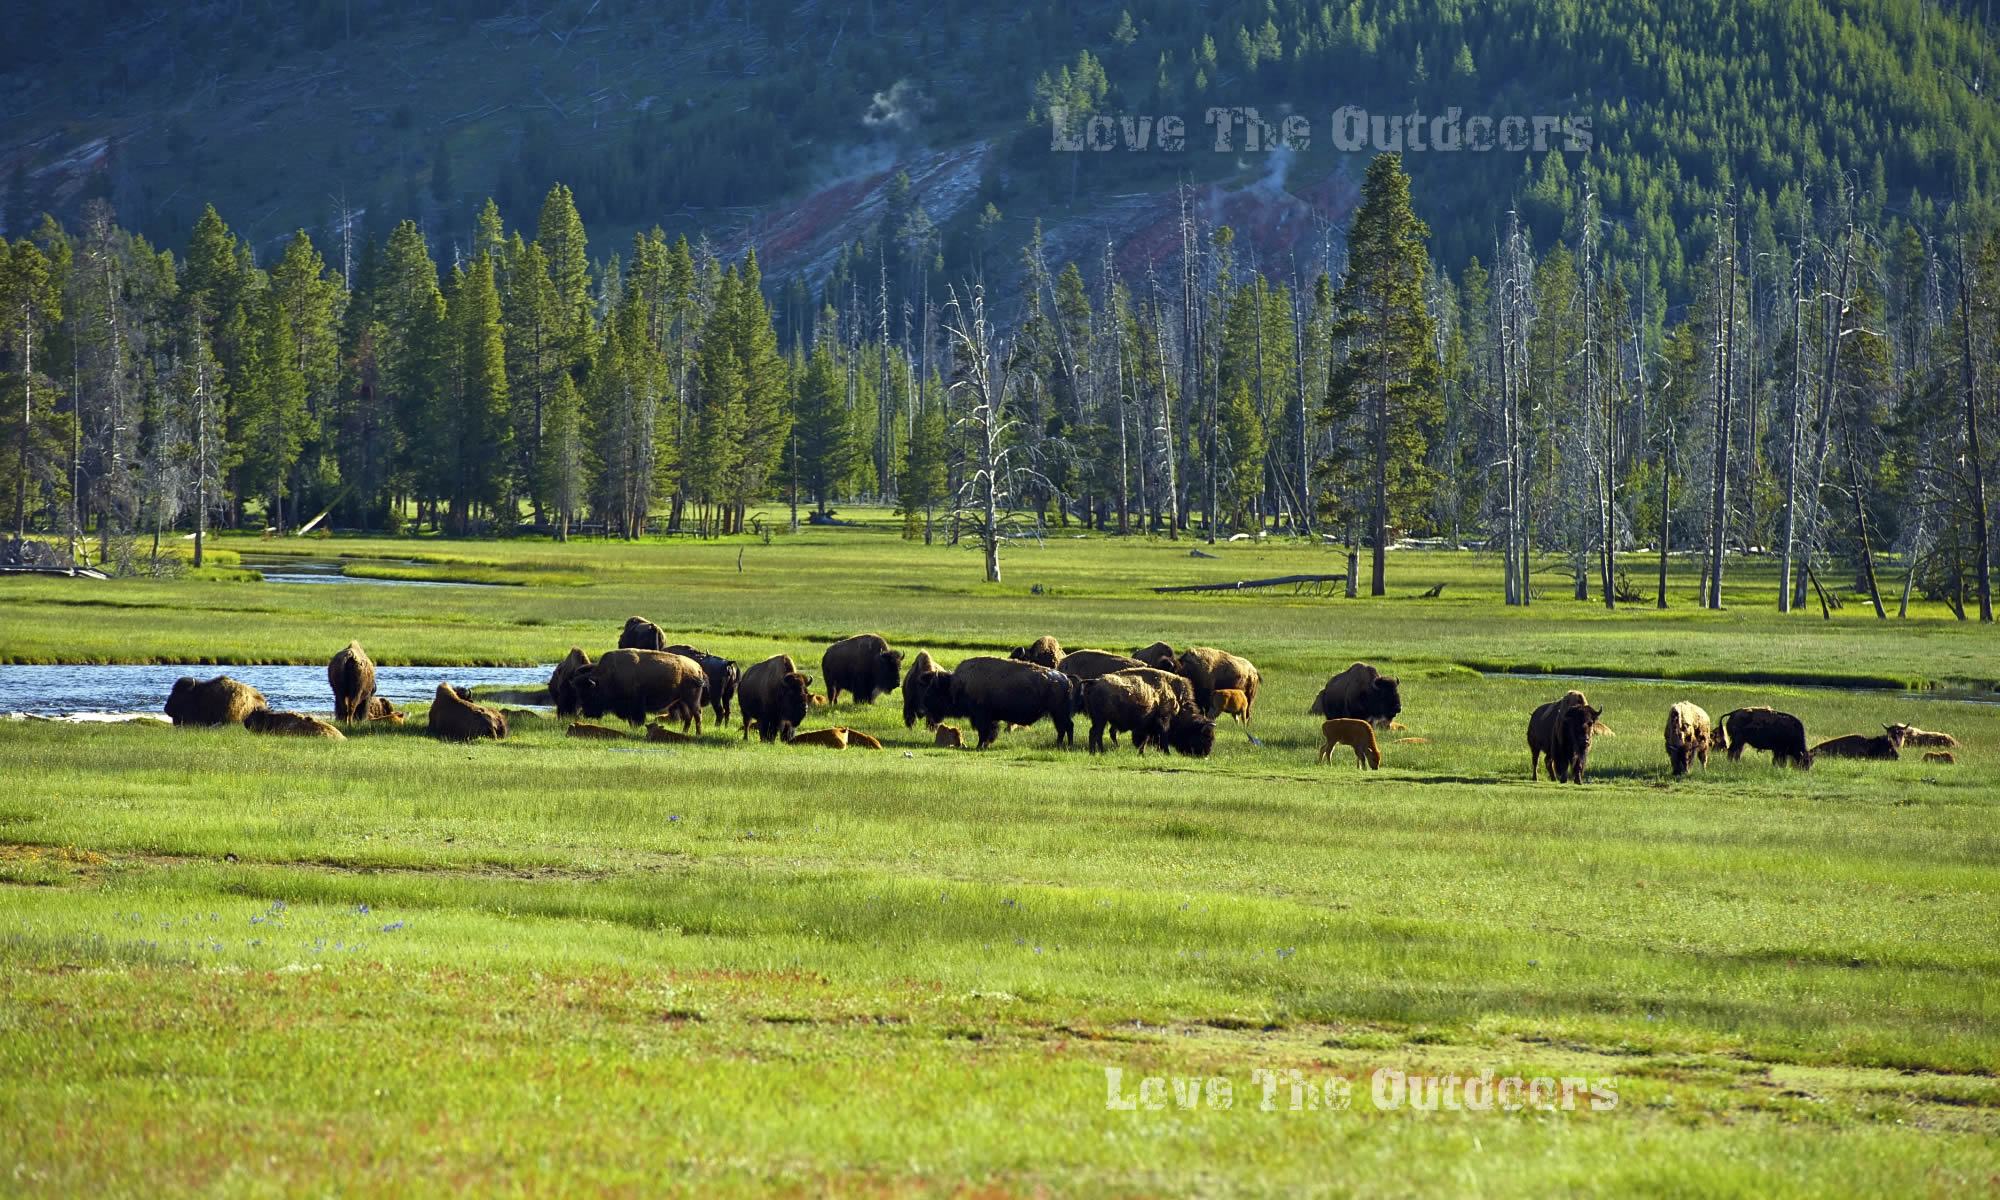
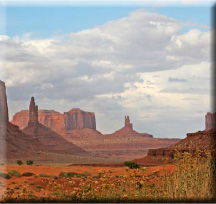
Camping offers opportunities to photograph wildlife in their natural habitat. No zoo shots here. Wildlife comes in a large range of sizes from insects to moose. Again you’re already in place for the dawn and dusk activities. Whether it’s desert red rocks, mountain lakes, alpine peaks or ocean beaches, there is beautiful scenery everywhere.
Some of my favorite photo tips are as follows:
-
Tripods are essential. Sharp, crisp photos require zero movement. The
tripod is worth the trouble and bother of packing it and setting it up.
It’s the best investment you can make in improving your
photography. Practice so you can set it up and level it quickly. I have
a case for mine which not only protects it but has a shoulder strap to
help carry it.
- The next essential is a cable or electronic remote release. This allows you to take the photo without any shutter finger motion. Again it helps take crisp in-focus photos. Simply compose the photo with the camera in the tripod, then watch your subject, When the smile is right, or the cloud is right, hit the remote shutter. I love mine for taking photos of people-- my subjects don’t know when I’m going to trip the release. The smiles are more natural if I do something dumb than if I’m peering through the viewfinder asking them to say cheese.
- Now if you want great scenics or macros, use the mirror lockup on your camera. It reduces the camera shake by moving the mirror out of the way so that only the shutter opens and closes. This places things in exact focus. There is no camera shake. Of course it’s used in conjunction with the shutter, the tripod and cable shutter release. The old manual film cameras had this feature, and now the new, digital, single lens reflex has it too. It’s a must-have on macro close ups. All of the detail of a bug inside a flower is captured.
- Bracketing is another useful tool. With the new Photo Shop CS3 extended program, I really don’t need to bracket. Bracketing is taking three photos of different exposures of the same subject. One is where the auto meter places it, and the other two are slightly lighter and darker. You can set a fraction of a stop or a full stop difference. This was necessary with film cameras.
- On my digital camera I set the highest quality available and for stills I use the slowest ISO speed. I use an F20 or smaller to get the depth of field in focus.
- Buy a few good photo books and study them. Learn the rule of thirds and use it. Place an imaginary tick-tack-toe on the photo. Wherever the intersection occurs, place your subject. Also study how to compose a shot. Curves and S shapes enhance the picture. There is a lot to learn and a wealth of knowledge in study and experience. While you’re camping take the time to learn and practice to improve your photography. It is art work in a box. Photography lets you use the creative side of your brain for a change.


Camping Adventures • Dutch Oven Cooking • Sports Knots
Fly Tying • Freshwater Fishing • Fly Fishing